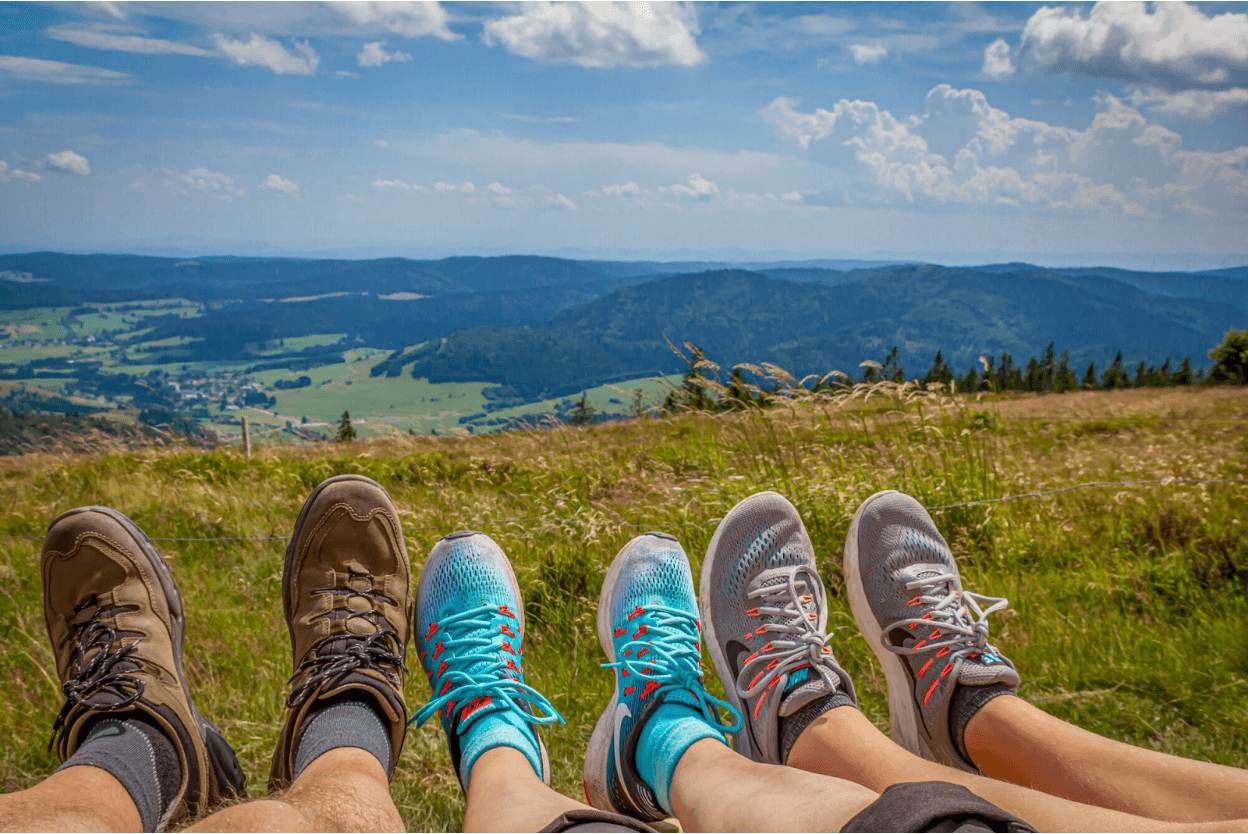
2020 saw a massive boom in hiking, with many excited to get outside and see the outdoors. This hobby can lead to taking stunning photos of your travels!
However, hiking photos aren’t as simple as taking studio pictures! After all, in a studio, you can control the lighting, subject, and environment. However, outdoors, you’re relying on mother nature. However, the setting doesn’t always cooperate, meaning you’ll need to take matters into your own hands.
If you’re not sure how to edit travel photos, keep reading. You’ll learn some of the best tips and tricks to help you make these photos stand out.
Crop and Straighten
When taking photos, it can be hard to keep yourself balanced. When hiking, you’re often on uneven ground, meaning your photos can be unleveled.
Luckily, you can straighten your photos on any standard editing software. This helps make the image more visually appealing, as it looks more natural. If your horizon line is at an angle, it can make the picture look off.
Similarly, if your photo is too big, it can draw the eye away from the subject of your image. Cropping out unnecessary space can narrow the focus of the photo.
Fix the Lighting
In outdoor conditions, you may find that the lighting is less than stellar. Whether it’s cloudy and dark or sunny and too bright, adjusting the lighting can help make your picture look better.
If your photo is too dark, increasing the exposure and brightness can make your image clearer. When the image is too bright, turning these down and adjusting the contrast can help prevent the photo from appearing blown out.
Increase the Colors
One of the most beautiful things about nature is the beautiful colors. The lush green of trees and the brilliant blue of the sky is something that your camera may not be able to capture well. Editing them to reflect this is a great way to make your photos stunning.
Increasing the vibrancy, saturation, and contrast of the photo can help make your hiking photos stand out among others!
Remove Distractions
Finally, when hiking, you may find that you take beautiful photos; unfortunately, the setting may not be as scenic as you’d like due to other hikers, litter, or space parts of the grass.
Luckily, you can take advantage of a background remover to help clear out unsightly settings. Similarly, one of the best advanced photo tips is to use a blemish tool to obstruct distractions.
Take Your Hiking Photos to the Next Level
Knowing how to take good travel photos with iPhone can help lessen your load as you travel and make it easier to take quick pictures. Post-processing photography is an essential part of making any shot stunning.
If you found this guide to taking hiking photos inspiring, you’ll want to check out the rest of our website. There, you can find more travel photography ideas to help you make memories that will last a lifetime.

