In the realm of modern lighting solutions, aluminum LED profiles have emerged as a cornerstone for creating sophisticated, efficient, and versatile lighting systems. Whether it’s for accentuating the aesthetics of a room, highlighting architectural features, or simply providing functional lighting, LED profiles offer a clean, professional look while protecting LED strips from dust and damage. This guide aims to navigate you through the process of LED profiles installation with a professional and advisory tone, ensuring that your LED strip lighting project is successful from start to finish.
Why Use Aluminium LED Profiles?
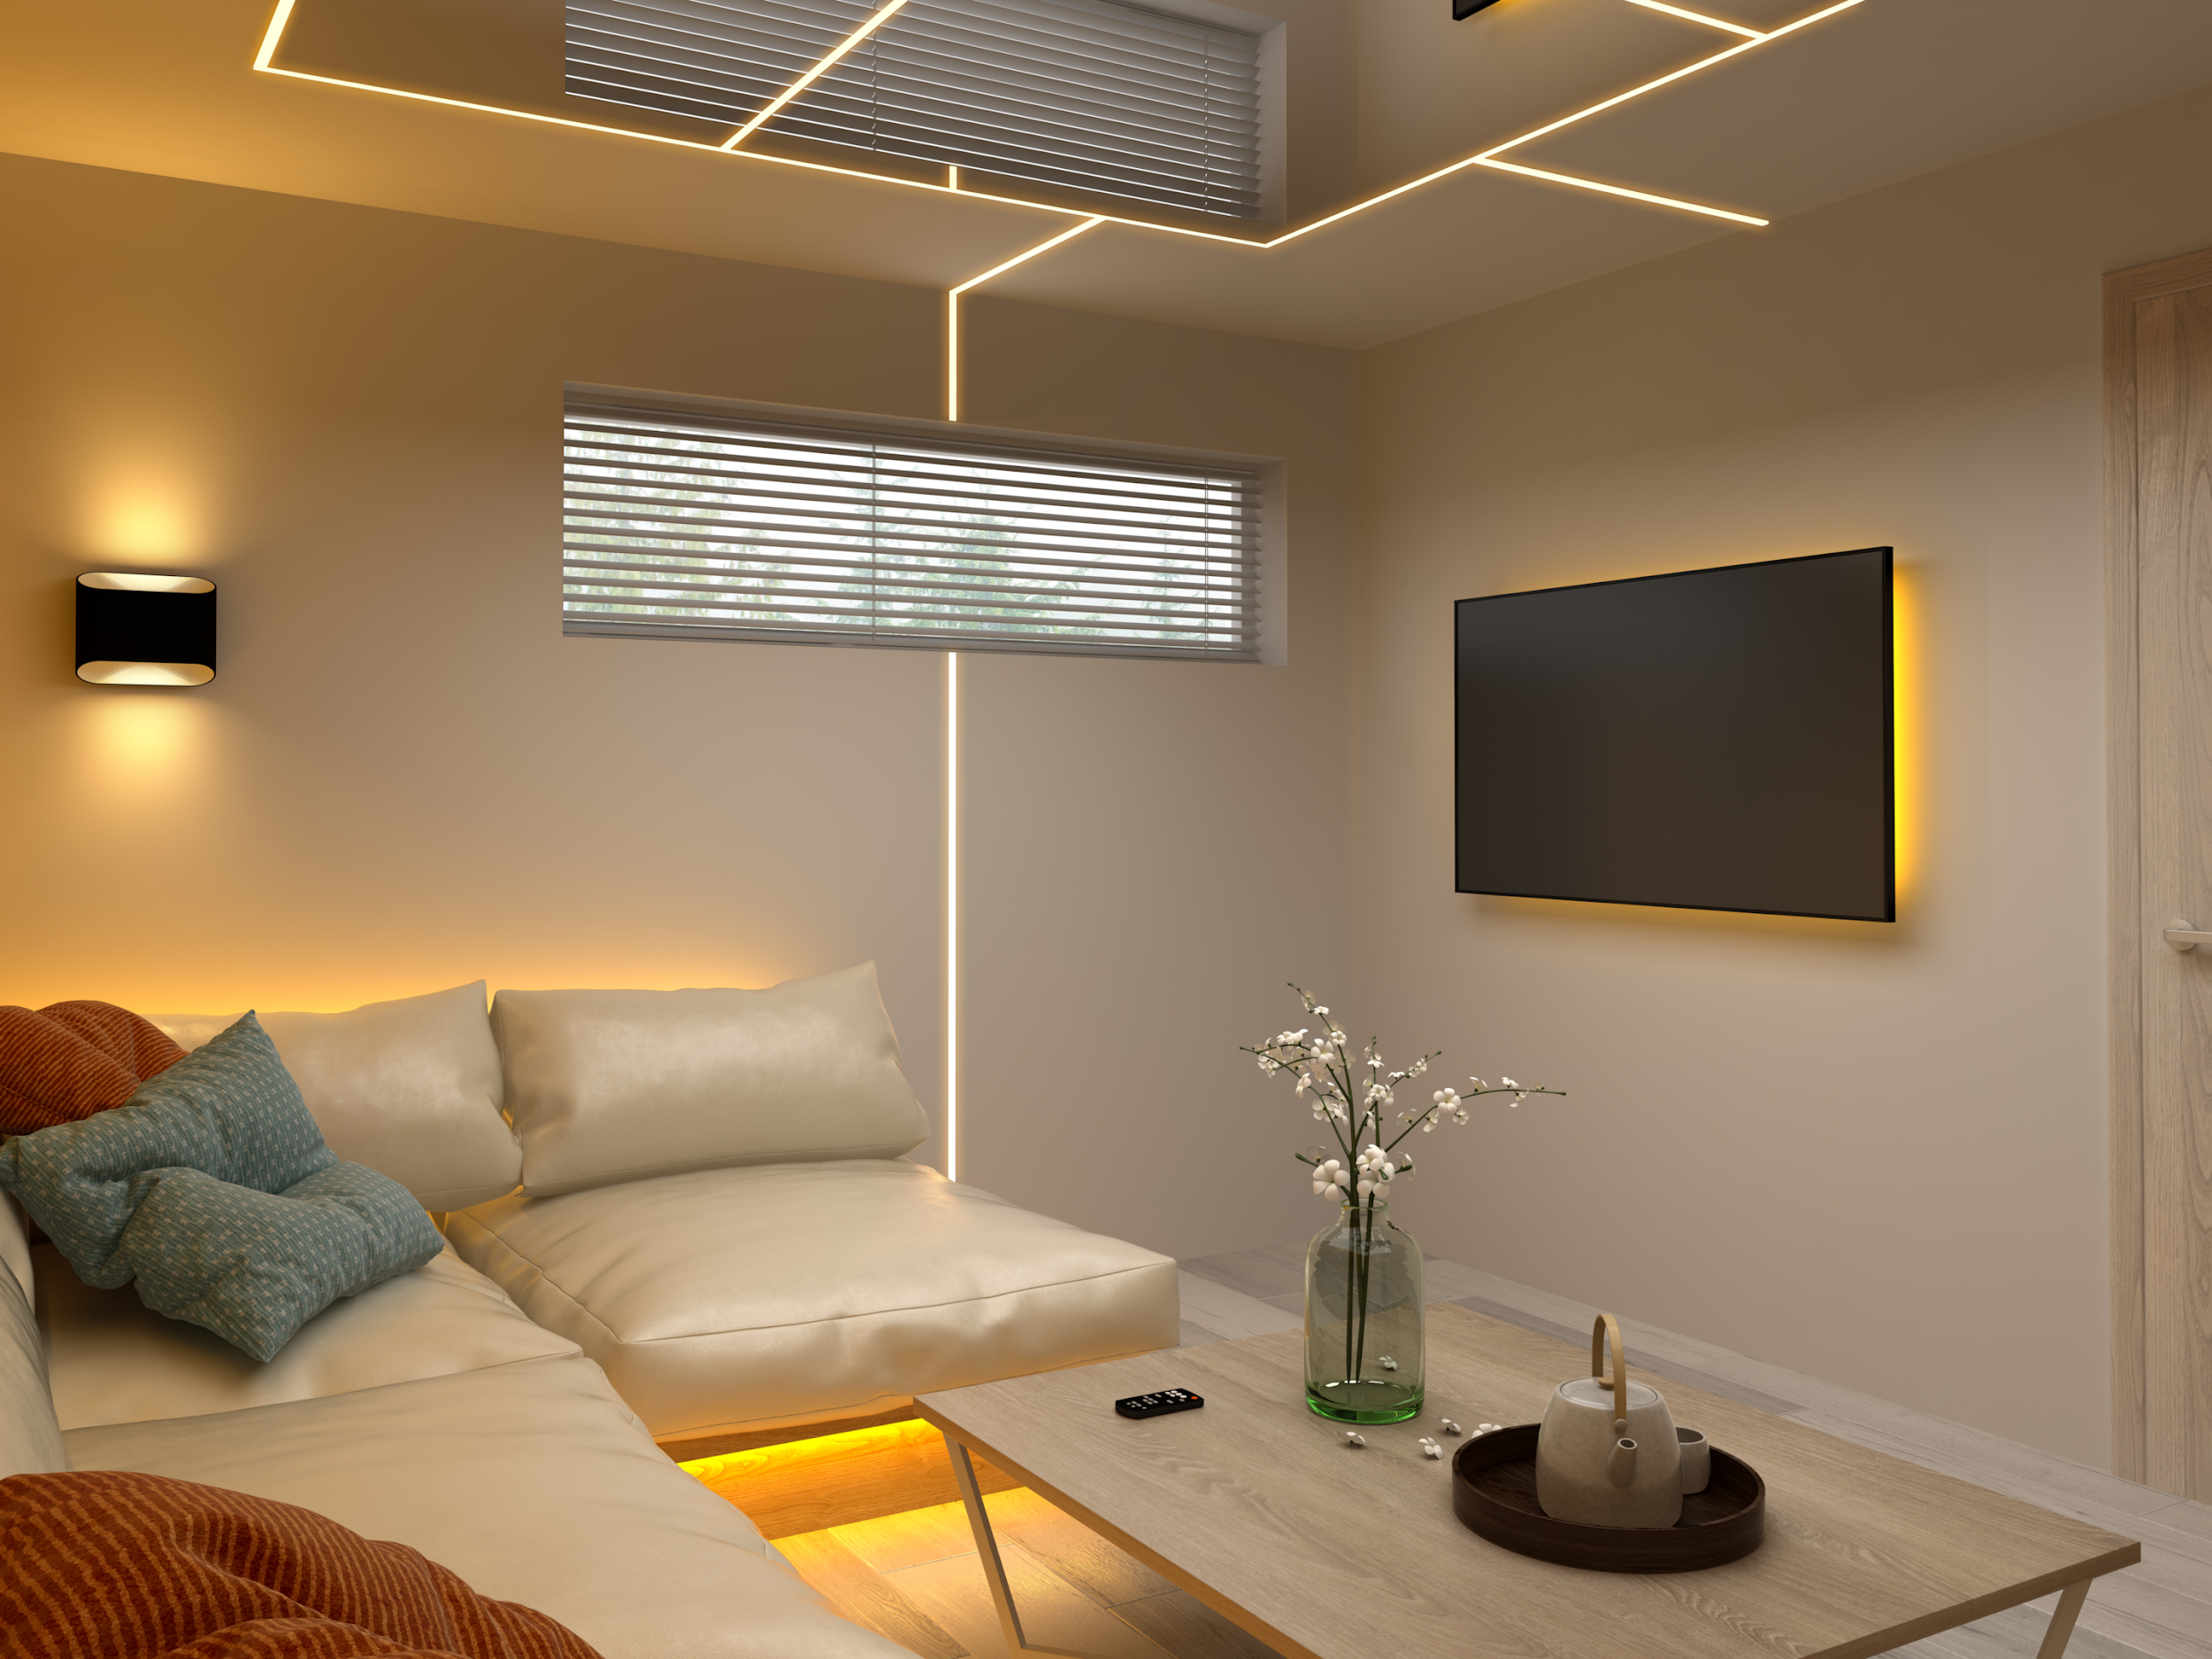
Using LED profiles offers numerous advantages for both aesthetic and functional lighting applications. Firstly, they provide a sleek, professional finish that enhances the overall appearance of LED strip installations, integrating seamlessly into various architectural styles. LED profiles help in diffusing light evenly, reducing glare, and creating a soft, ambient glow that can transform the mood of any space. Additionally, they protect LED strips from dust, physical damage, and premature wear, thereby extending their lifespan. The use of aluminum profiles also aids in heat dissipation, ensuring the LEDs operate within optimal temperature ranges for improved efficiency and reliability. Whether for home, office, or commercial spaces, LED profiles are essential for anyone looking to create durable, high-quality, and visually appealing lighting solutions.
1. Planning Our Installation
Before embarking on the installation process, meticulous project planning is imperative. Initiate by determining the precise location for the LED strip lights installation—whether it be beneath cabinets, along the ceiling, or surrounding furniture—selecting an appropriate spot is paramount.
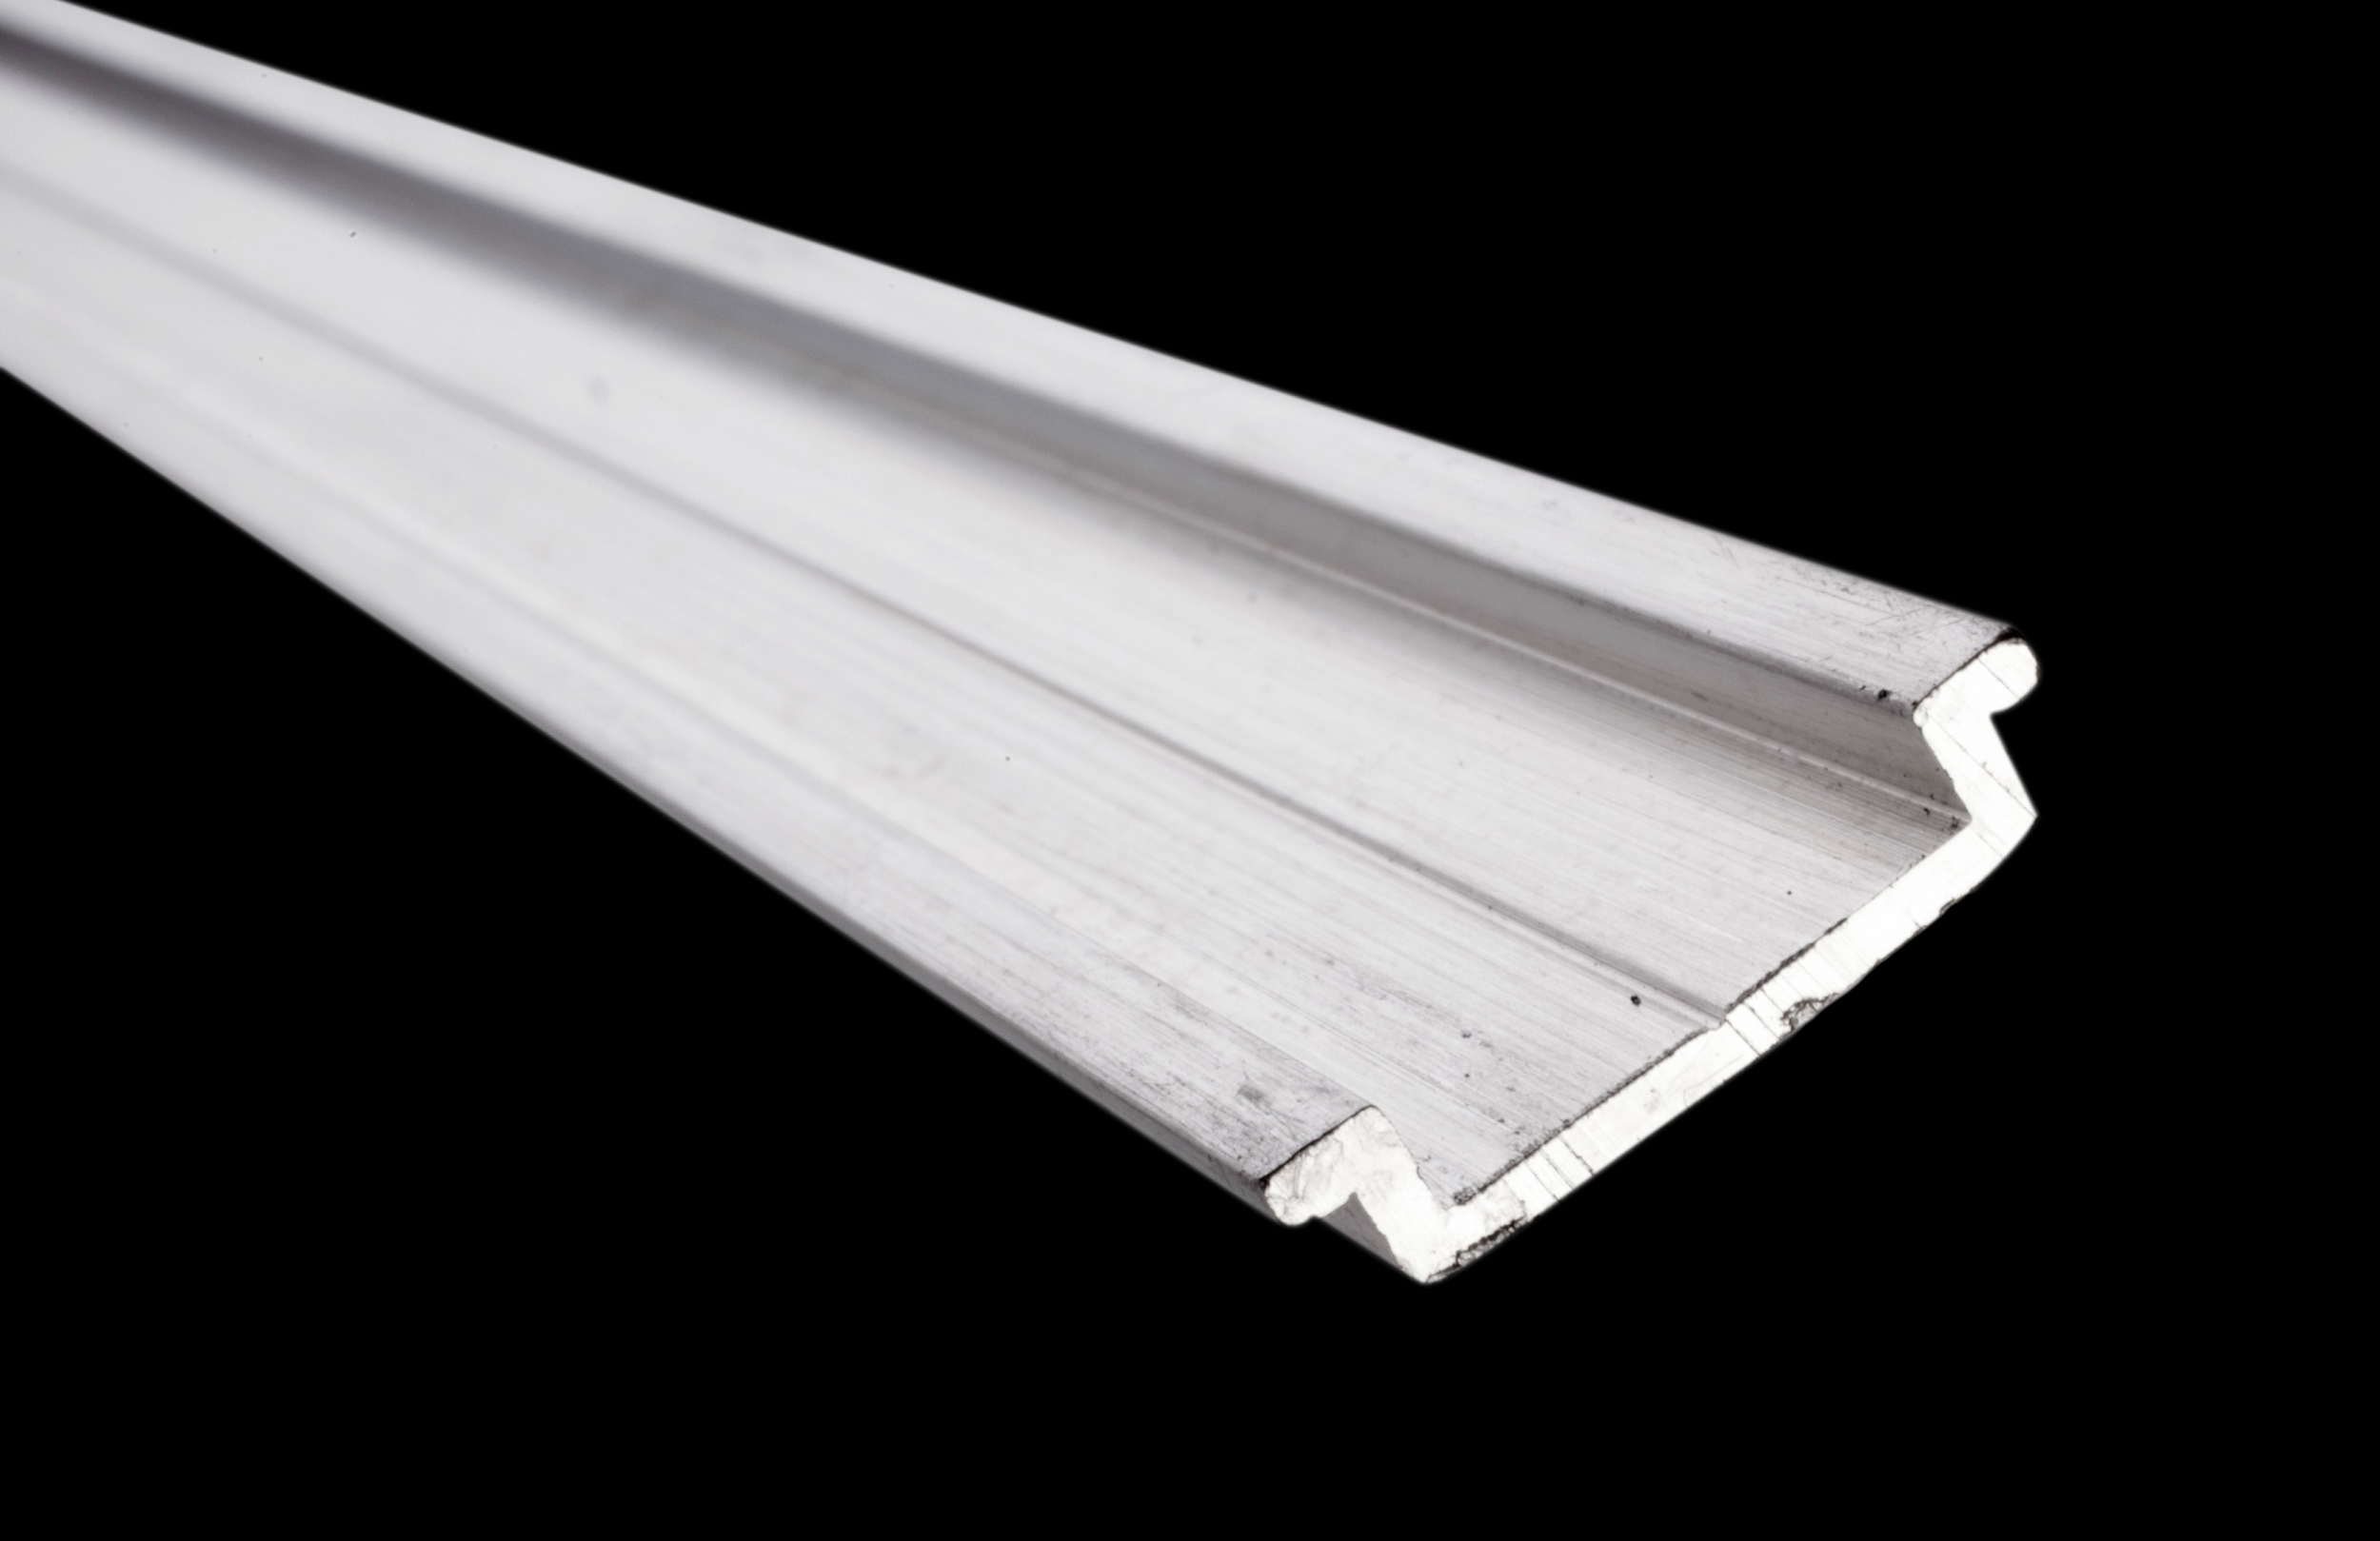
The subsequent step involves scouting for a fitting aluminum profile that aligns with your specific requirements. Profiles are available in diverse shapes and sizes, tailored for various surfaces like walls, ceilings, or underneath furniture. Measure the length of the designated space where the LED strip lights will be positioned and opt for a profile that corresponds to these dimensions.
Take into account the kind of lighting ambiance you aim to achieve; for instance, a diffuser can be employed to soften the light, while a transparent cover will enhance brightness
2. Tools and Materials Needed
Embarking on the installation of aluminum LED profiles requires careful consideration of the essential tools and materials. Whether you are a seasoned DIY enthusiast or a professional installer, having the right equipment is paramount to ensuring a seamless and effective process. In this context, we will explore the fundamental tools and materials needed for LED profiles aluminum installation, setting the stage for a successful and efficient project.
- Aluminium LED profiles;
- LED strip lights;
- End caps;
- Mounting clips or brackets;
- Suspension cables (if suspended installation is desired);
- Diffuser (opaque or transparent);
- Suitable wire for connections;
- Standard installation tools (screwdriver, drill, tape measure, etc.)
3. Preparing the Installation Surface
The key to a successful LED installation lies in the preparation of the surface. Ensure the chosen surface is clean, dry, and free of dust. If you’re installing the LED strip lights on walls or ceilings, check for flatness and stability. Surfaces should be smooth to ensure the profiles can be securely attached. For furniture installations, ensure there’s enough space to accommodate the profile and the strip without interfering with the furniture’s functionality.
4. Cutting the Aluminium Profile to Length
After measuring the required length, cut the LED profile using a saw with a blade suitable for metal. Ensure the cut is clean and straight to maintain the quality and appearance of the installation. Always wear protective gear to avoid injury during this process.
5. Installing the LED Strip
Carefully stick the LED strip inside the aluminium profile. LED strips usually come with an adhesive back, which makes this process straightforward. Ensure the strip is evenly aligned within the profile to avoid uneven lighting. Cut the LED strip to the desired length, making sure to cut at the designated cut marks to prevent damaging the strip.
6. Securing the Profile
With the LED strip in place, it’s time to secure the aluminium LED profile to the chosen surface. Use mounting clips or brackets for surfaces where the profile cannot be directly adhered. For ceiling or suspended installations, suspension cables can be used to create a floating light effect. Ensure the mounting accessories are evenly spaced to provide adequate support along the entire length of the profile.
7. Wiring and Power Connection
Connect the LED strip light to the power supply. This might require some basic wiring skills. If you’re not confident in doing this safely, it’s advisable to contact a professional. Use quality wire to ensure a safe and reliable connection. Cover all exposed wires and connections to protect them from damage and to maintain a neat installation.
8. Finishing Touches
Once the LED strip is powered and tested, it’s time to add the end caps and diffuser. The end caps protect the strip and the internal components of the profile from dust and physical damage. The diffuser, whether opaque or transparent, helps distribute the light evenly, reducing glare and creating the desired lighting effect.
9. Testing Your Installation
Before finalizing your installation, test the LED lighting to ensure everything is working correctly. Check for any dark spots or uneven lighting and adjust the LED strip within the profile if necessary. Testing also allows you to verify that all connections are secure and that there’s no risk of electrical issues.
10. Maintenance and Care
Maintaining your LED profiles installation is straightforward. Periodically check the installation for any signs of damage or loose connections. Clean the profiles and diffuser with a soft cloth to prevent dust buildup, which can diminish the quality of light over time.
Conclusion
Installing aluminium LED profiles is a rewarding project that can significantly enhance the lighting and atmosphere of any space. By following this detailed guide, you can ensure a professional-quality installation that is both aesthetically pleasing and functionally superior. Whether you’re looking to create ambient lighting in a room, highlight architectural features, or illuminate a workspace, LED profiles offer a versatile and efficient solution. Remember, taking the time to plan your installation and choosing the right materials will result in a lighting setup that you can enjoy for years to come.