Photographing paintings, prints, textiles, and other art objects are harder than ordinary shooting. You must prepare the lighting and adjust the camera so that it doesn’t distort color and quality. Follow these rules.

Camera and settings
A digital SLR camera with a fixed lens is the best choice. If you do not have such a device, use a high-end smartphone or a camera with manual control.
Next, you must prepare the camera for shooting. For maximum sharpness, set the lowest ISO, usually 100, and never use auto-setting.
Turn off digital zoom if your camera has this feature. It increases part of the image, which leads to a decrease in image quality and noise appearance. Choose a focal length of 80 or 100 mm for a medium-sized art object.
If your camera allows you to change the saturation settings, they should be set to normal or neutral. This captures the colors of the object as they are. You will be able to work on the brightness and contrast in the photo editor after shooting if necessary. Also, do not forget about setting the White Balance.
Use Adobe RGB, as it can reproduce more colors than sRGB. This is especially important if you plan to use a photo for printing. Remember that converting from sRGB to Adobe RGB in a graphics editor is not the same as the original Adobe RGB. As for the format, choose RAW if your camera can shoot with this quality. TIFF can also be suitable.
Lighting
When shooting artwork, it’s necessary to create uniform lighting conditions. Place 2 light sources of the same power at an angle of 45 degrees on each side in front of the picture. Thus, one lamp destroys the shadow created by another.
It’s recommended to install shooting equipment in a large room since you must place lightboxes as far from the object as possible so that they don’t create patches of reflected light.
It’s recommended to remove other light sources in order to avoid the possibility of color mixing. Close the windows so that the rays of light from the outside do not penetrate inside.
If you need to take a photo of a picture that is behind the glass, use black material cloth around the camera lens to avoid reflection. The ring flash can also help.

How to take a picture of an art object
Now let’s move on to the process of photographing a painting. Place the object on a plain black, gray or white wall. It’s important to hang the picture perfectly horizontally and vertically, so use the appropriate tools to check it.
Before you start shooting, take a few test photos with the color balance cards to build a white balance. Check the focus by enlarging the photo to 100% on the camera or computer screen. The focus should be the same both in the center and at all angles.
Be sure to use a tripod but it may not be enough to achieve the most accurate photo. To eliminate any camera movements, use the mirror lock setting or self-timer.
Also, the device should be located exactly in front of the center of the art object. This creates the right perspective.
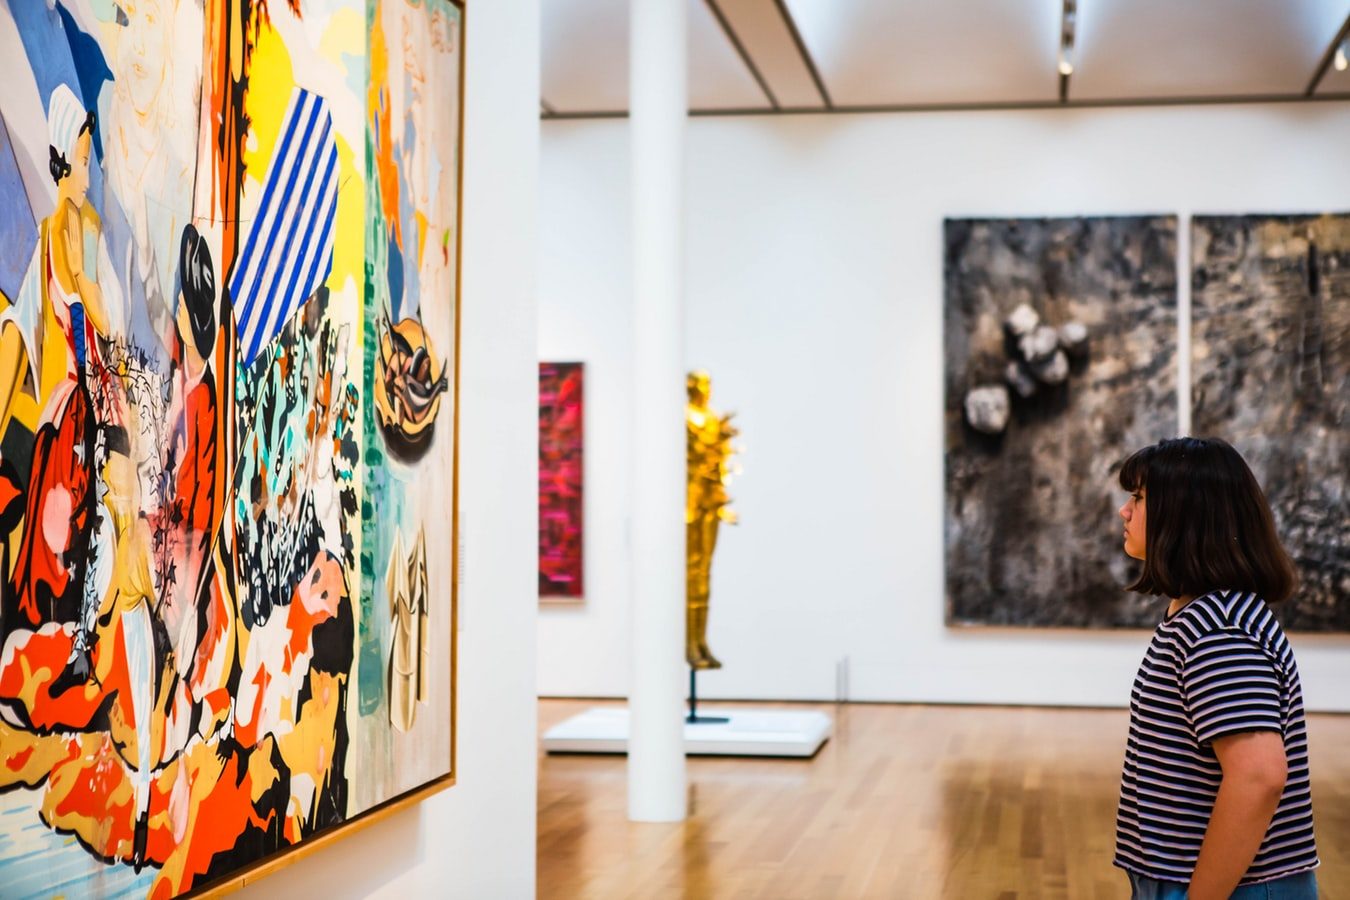
If you are photographing art objects in a gallery, things are easier here. Local lighting is set to make the paintings visible from any angle, which facilitates the work of a photographer.
You only need to set up the camera correctly. If the photo should have people, make sure that they do not cast a shadow on the art object. In this case, additional lighting is necessary.

Photo editing
Since most photo editors work only with TIFF or JPEG, you will have to convert RAW to one of the offered formats.
This is not a difficult task as such services are available online. Edit photo with an increase of 50 or 100%. When done, resize to the desired pixel size and save as high-quality JPEG with sRGB or Adobe RGB.
During editing, it’s important to work on color so that the picture looks the same as in life. If you initially selected the camera settings well, there shouldn’t be much work with effects.
If people are also in the photo, you should edit them as well, which can be the hardest part of the process. It’s not a problem if you don’t know how to work with the skin, as you can use face clear photo editor online. There are many such services and you can choose any. For example, Retouchme is a popular application among photographers and bloggers. By the way, it’s not only a face correction app but a complete program with various features for photo editing. Just go to the Retouchme.com photo editor website to find out everything you need.
Many people think that taking pictures is easy, but as you can see, it requires careful preparation and compliance with the rules during shooting.
Working with light is the most important step. You must set the correct camera settings as this is the key to the success of a good photo.
Don’t think that post-editing can fix errors due to inattention during photographing. It can be said that you are limited to working only with color. Despite the monotony of the process, this can be a very exciting experience.
[wp_ad_camp_1]